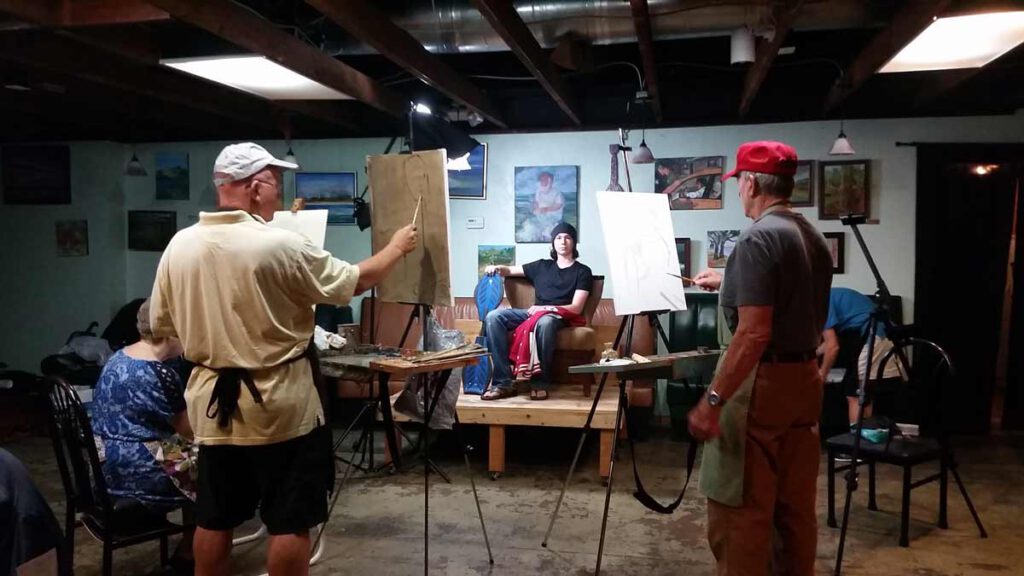
Though you can dispense with a teacher to a somewhat degree you can’t draw or paint without tools. And all the reading will lead you to nothing if you don’t practise. So here I’m going to talk about what you will need for your exercises and how to set up your little Atelier@HOME.
Lighting
In your home studio you won’t need natural daylight. Everything you are going to practise can be done with artificial light sources – if it´s a Bargue Drawing, a Cast Drawing or a Painting.
Make sure that your windows are covered up so that there won’t be any changes in your light situation. If you had a light bulb lighting your setup and easel and there is light coming from the window you would recognize differences in the mornings compared to daytime or nighttime. So what you want is a constant light setup. For your Bargue Drawings and Cast Drawings you will only need a light source with a regular light bulb – which is most propably a yellowish light (~3.000 Kelvin). Since you are only concentrating on distances, shapes and shades there won’t be any problem with a yellowish light source. But it should be bright enough to light up sufficiently.
In the case of painting you will need a daylight bulb or flourecent tube (5.000-6.500 Kelvin) to make sure that the bulb’s emitted light won’t affect your ability to see the correct colors (exception: if you intend to make a painting with – let´s say – candlelight, where you want exactly this color temperature). The palette should be lit under daylight in order to match the perceived color.
Easel
For your practises you won’t need an expensive easel. If you already have one – fine. But if you don’t have one, don’t be concerned on having to spend a lot of money. If you have an easel, make sure it is one that you can adjust to a vertical since every inclination will result in a distorted view. The type of easel you should be looking for is an H-frame easel instead of a tripod type of easel.
The MEEDEN H-Frame Easel* is a versatile studio easel which you can tilt until flat and due to its wheels can be moved around easily.
If you consider having your own easel which is movable you can take a look at this website where you will find a detailed description and a plan on building your own easel.
If you don’t have an easel just hang a large wood board on your wall or on your wardrobe. It preferably has a smooth finish so that you can place your drawing paper directly onto it. In case it has a rough surface you will need to place a thick hardboard onto the wood board so that no wood structure is showing through your drawing.
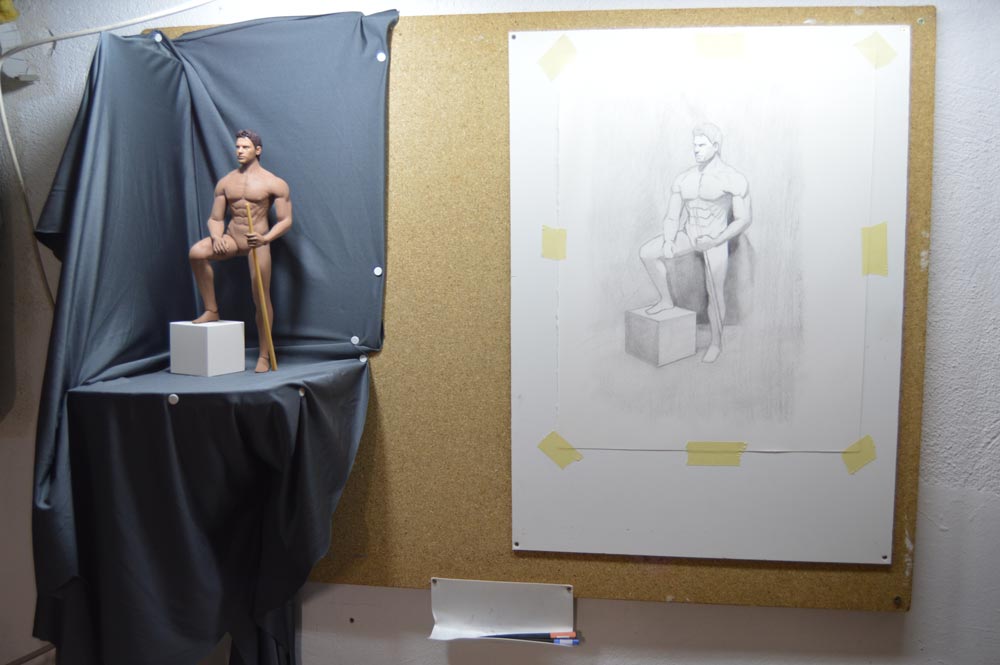
So, now you have a wood board mounted onto your wall. This is the most simple setup and sufficient for doing Bargue Drawings. In the case of Cast Drawing you will either hang your cast onto a nail in the board or you will need to mount a stand onto the board if it’s a bust or something similar.
To control your background color it’s good to have either grey fabric or grey cardboard. Black would also do well but the values of the shadows cast on the fabric/cardboard will be very close to the value of the background itself.
MATERIALS
Must have for Bargue Drawings:
- Bargue references (here for download)
- Pencils different grades
- kneadable eraser
- regular printer paper
- support
- tape
Additional must have for Cast Drawings:
- Charcoal
- Drawing casts (available here)
- sand paper
- Drawing paper
Optional for Bargue Drawing and Cast Drawing:
- Mirror
- Knitting needle or thread or proportional divider
- Rag
- Brushes
- Easel
- Mahlstick
Must have for painting:
- Brushes
- Canvas
- Paint (White, Black, yellow, red, blue, brown)
- Linseed oil
- Palette (wooden, glass)
- Curd soap for cleaning the brushes
- Towels
- Palette knife
Optional for painting:
- Mineral spirits
- Color checker
- Fabric
As you can see, it can be a larger purchase but you won’t need everything at once. So first finish your studies one at a time and not before you have achieved a successful study you can switch to the consecutive step which means additional purchases.


Quite well put together advice. But your atelier in the basement looks incredible depressing. How are you doing down there?
No problem at all. When I draw and paint I never become depressive 🙂
Hey there, thank you for such a great resource. I’m wondering if you have any advice or know of any sources I can check out to plan my atelier schedule? I’m the kind of person who really needs structure to make proper progress. I have a basic curriculum, just not sure how to assign realistic (but challenging) timelines to it. Any thoughts would be much appreciated!